A silver estate floating a few pixels above its own shadow. A cut line through the wheel arch where the masking gave up on the alloy spokes. A car park reflected in the rear door of a car that is supposed to be standing in a studio.
I see all three most weeks, on live listings, from dealers who paid for the edit.
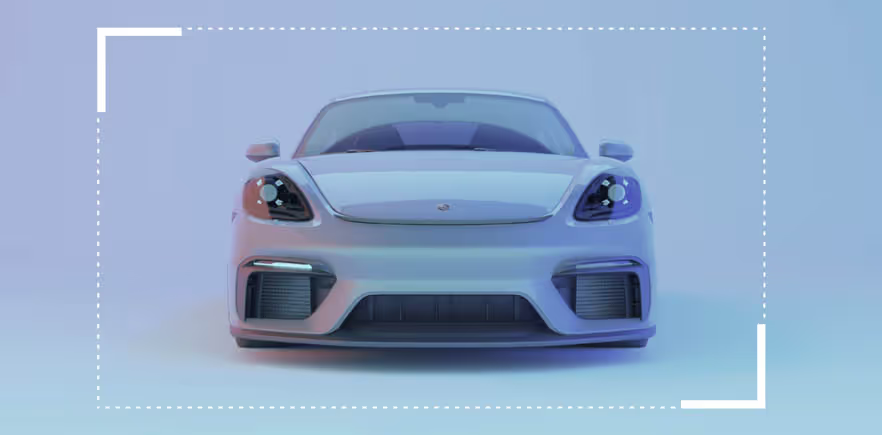
A car background remover separates the vehicle from whatever was behind it and drops in a new background: studio white, a branded gradient, or a clean location scene. The mechanics are the easy part.
The hard part is knowing which of your cars a machine can edit safely on its own, and which need a person to check the result before it goes live.
That split is the whole argument of this guide.
Most of a normal lot masks cleanly and can go through fully automated editing without a second look. A specific, identifiable minority does not: white and silver paint, open-spoke alloys, wet ground, roof rails. Knowing which is which, car by car, is the actual skill.
It is also the split Autopix builds into Express and Plus plans, which I will come back to once you have seen why it matters.
Four jobs happen in sequence, and each fails differently.
Masking. The tool draws a boundary between car and background, pixel by pixel. A saloon in profile is close to solved. Complexity is the enemy: the more gaps, thin edges and semi-transparent surfaces in the frame, the more the boundary becomes a guess.
Edge handling. Once the boundary exists, it has to be feathered so the car does not look stamped on. Too little and you get a hard cartoon outline. Too much and the car looks slightly out of focus against a sharp background, which reads as fake even to people who cannot say why.
Shadow reconstruction. The original shadow goes with the original ground. A convincing replacement builds a new contact shadow under the tyres, matched to the light direction in the new scene. This is the single biggest tell. A car with no shadow, or a soft grey oval that does not touch the tyres, looks like it is hovering.
Reflection handling. Paint, glass and chrome are all partly mirrors, so they carry the old environment into the new one. Good output keeps reflections plausible or cleans the worst of them. Bad output leaves a row of parked cars visible in the door of a vehicle standing in a white void.
Every tool on the market handles a clean red hatchback on tarmac. Run the same tool across a mixed lot and the failures cluster in the same five places, which is exactly where the automate-or-check split above starts to matter. These are worth checking on a trial before you commit to a price per car.
Open-spoke alloys are the most reliable failure point in car photo editing. The gaps between spokes should show the new background, not the old tarmac. Cheap masking either fills the gaps with a smear of grey or cuts the spokes off entirely. Buyers who care about wheels look closely at wheels.
Anything one or two pixels wide is at risk. Shark fin aerials survive most of the time. Older mast aerials, roof rails with a gap underneath, and thin chrome window surrounds are where I most often find a section simply missing. On estates and SUVs, check the rails from front to back rather than glancing at the roofline.
Windows are semi-transparent, which is a genuinely hard problem. The tool has to decide whether you can see through the cabin to the new background, or whether the interior stays visible. Both answers are defensible. What is not defensible is the third outcome, where half the rear window shows the old car park and half shows the new studio.
Contrast is what the model uses to find the edge, and a white van on a bright overcast day has almost none. This is why a vendor demo image is nearly always a dark car. Test silver, white, and pale grey specifically. If a tool handles a white transit against a white sky, it will handle the rest of your lot.
Rain on tarmac creates a mirror image of the car below the car. Some tools mask the reflection as part of the vehicle and carry a ghost into the new background. Others cut it off mid-puddle. In Nordic winters, this is not an edge case; it is most of the week.
Don’t take my word for any of this.
Send Autopix your three hardest cars on the free trial, and make at least one of them a wet white estate with roof rails.
That single car will tell you more about a tool than fifty easy ones.
Here is a position that goes against most vendor marketing. Studio white is not automatically right for a dealership, and for a mixed inventory it is often the worst choice.
White punishes exactly the failures above.
Every soft edge, every missing aerial, every unconvincing shadow is maximally visible against pure white. It also flattens pale cars, a large share of Nordic stock. A white background needs the masking to be right on every single car, and it will not be.
A branded gradient, mid grey to a brand colour, is more forgiving on all three counts. Edges blend, shadows have something to sit in, silver cars keep their shape. It also does something white cannot: it makes a results page of forty thumbnails read instantly as yours.
Real location backgrounds have one honest use case: premium or classic stock, where context is part of the value. For volume-used stock, they add variables you have just paid to remove. If you go this route, use one location, not a library of them.
The exception is marketplace-driven.
If a portal’s own template puts your image against a white card, a white background gives you a borderless look competitors will not have.
That is the one argument for white I find persuasive.
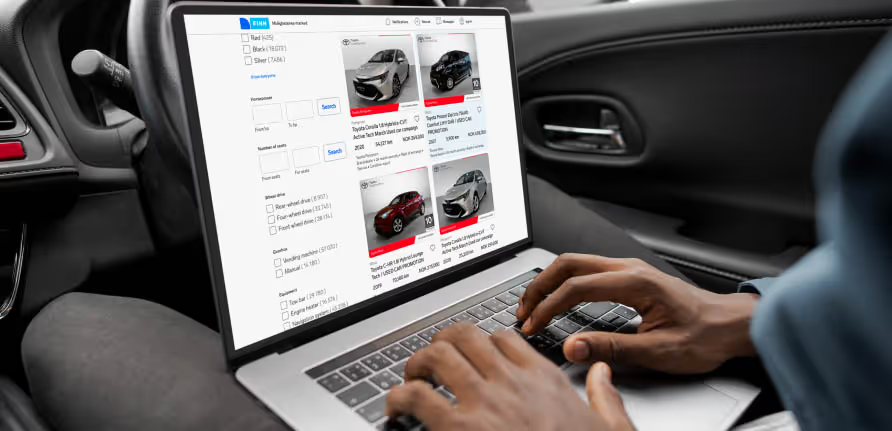
A buyer on Finn.no or Blocket does not evaluate your photo. They scan a grid of thumbnails, and their eye is doing pattern recognition before it is doing appraisal.
Forty cars on the same background, same angle, same distance, reads as a professional operation. The same forty cars on nine different backgrounds reads as a private seller with a big driveway.
This is the argument I would make to a dealer principal who thinks image editing is a cosmetic spend. Consistency is not about any one car looking good. It is about the set looking like it came from somewhere organised, which buyers use as a proxy for whether the paperwork will be organised too.
There is a real, measured version of this instinct on the record already.
FINN Motor’s own analysis of more than 155,000 car listings found that ads with 10 to 29 photos struck the best balance between visibility and speed of sale, while very few photos slowed sales and more than 40 slowed them again, because buyers lost the thread.
Photo count alone moves speed of sale by FINN’s own measurement. A background that shifts from car to car works against the buyer’s attention in the same way a bloated photo count does: it makes them re-orient before they can evaluate the car in front of them.
Once the background is fixed, the only variable left between listings is the car, which is exactly where you want the buyer’s attention. The practical version: pick one background, write it into whatever process document your photographers use, and do not change it for a season, a campaign, or a new staff member who prefers grey.
Five checks, about ninety seconds per car for the first week, then thirty seconds once you know which cars are risky.
Do it on a monitor, not a phone.
Pick the front wheel nearest the camera. Look at the gaps between spokes, the tyre wall against the ground, and the join where the arch meets the tyre.
If the wheel survives, the rest of the mask usually has.
Where the tyres meet the ground, there should be a darker, tighter shadow.
Follow it around all four contact points. A shadow that stops short, or sits evenly under the whole car like a rug, is the hover effect that gives an edited photo away.
Check the rear window and the far side windows for fragments of the original scene, and check that the treatment is consistent across all glass on the same car.
A clear windscreen and an opaque rear window on one vehicle is worse than either choice applied throughout.
Confirm the plate is handled the way your process says it should be, and that badges and model script on the boot lid have not been softened into mush by aggressive edge feathering.
Buyers read the badge.
Open a dark car, a silver car, and a white car from the same batch at thumbnail size.
This is the only check that tells you whether the set is consistent, which is what actually matters.
Back to the split from the opening. The real decision was never which tool to buy.
It is which cars can go through fully automated editing untouched, and which need a person to look at the output before it reaches a listing.
Autopix builds that split directly into pricing.
Express is fully automated, from 89 kr per car, and it is the right answer for clean stock: dark or mid-tone paint, closed wheels or simple spokes, dry ground, no roof rails. That is most of a normal lot, most of the time.
Plus adds professional retouching and human QC, from 149 kr per car. Route the awkward cars here: white and silver, open alloys, wet days, anything with a mast aerial or a roof rack, and every car going into a premium or feature slot on your site.
Two categories, one rule each, no per-car deliberation. It costs less than sending everything to the higher tier, and it produces better output than sending everything to the lower one.
Dealers who have made that switch describe the same effect on cost and turnaround in how car dealers cut costs and save time with a photo app.
If you edit backgrounds, say so in the listing where it is required. Disclosure and background replacement are the same conversation, and the Nordic marketplaces are increasingly explicit about it.
Send Autopix your three hardest cars on the free trial, not your easiest ones.
A trial that only proves a tool can handle a black Golf on dry tarmac has proved nothing you needed to know.
Every vendor demo uses a car chosen because it masks cleanly. Yours will not all be that car. The tool worth paying for is the one that handles a white van with roof rails on a wet Tuesday, and the only way to know is to send it one.
Judge the output on the five failure points, choose one background and hold it across the inventory, and route by the automate-or-check split rather than deciding car by car. That is the whole method.
Try Autopix on three real cars, the three worst in your lot right now. If you want to see finished dealer output first, the automotive examples are a fair place to start.